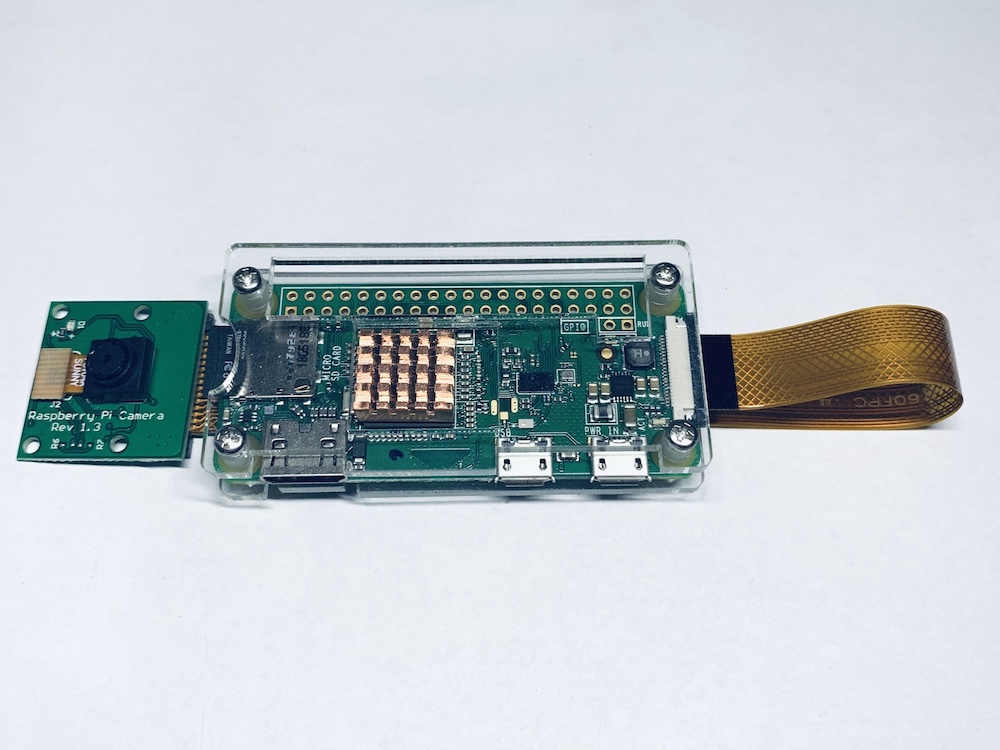
在树莓派 Zero 上安装 TensorFlow
0 准备工作
首先你得有个树莓派 Zero,在某宝上搜下,很容易就可以买到。推荐买 Zero W 方便联网。
清单:
- 树莓派 Zero W 一个
- 内存卡一张(大于等于 8G,Class 10 更好)
- Micro-B 数据线一根
- 读卡器一个
- 电脑一台
1 烧制镜像
先去官网下载一个镜像,推荐 Raspbian 。
将内存卡放入读卡器中,插入电脑(这里我以 mac 为例)。
1 | 使用 diskutil 找到内存卡名称 |
2 预先设置
开启 ssh 服务
在 / 下面建立名为 ssh 的空文件。
连接 wifi
找到 /etc/wpa_supplicant/wpa_supplicant.conf 文件,添加:
1 | network = { |
添加网络连接配置
这一步是可选的,如果 wifi 可以起作用,这一步就没必要。
- 在 config.txt 添加
dtoverlay=dwc2 - 在 cmdline.txt 添加
modules-load=dwc2,g_ether
3 启动
将内存卡取下,插入树莓派中,并连接电源准备启动。
使用 ssh 连接远程登录树莓派。
1 | ssh pi@raspberrypi.local |
4 上手
设置编码
1 | sudo vi /etc/locale.gen |
设置国内源
1 | 修改软件源 |
修改 pip 源
1 | vi ~/.pip/pip.conf |
5 安装 Tensorflow
1 | sudo apt install libatlas-base-dev |
安装成功!不过呢,tf 在树莓派上跑发热严重。。。
6 参考
在树莓派 Zero 上安装 TensorFlow
https://blog.ailln.com/v2ai/2019/03/22/deep-learning/5-raspberrypi-install-tensorflow/


